
How to Decarb Without Smell: 7 Methods That Work
Written by the ÉCRU team · Published August 28, 2026
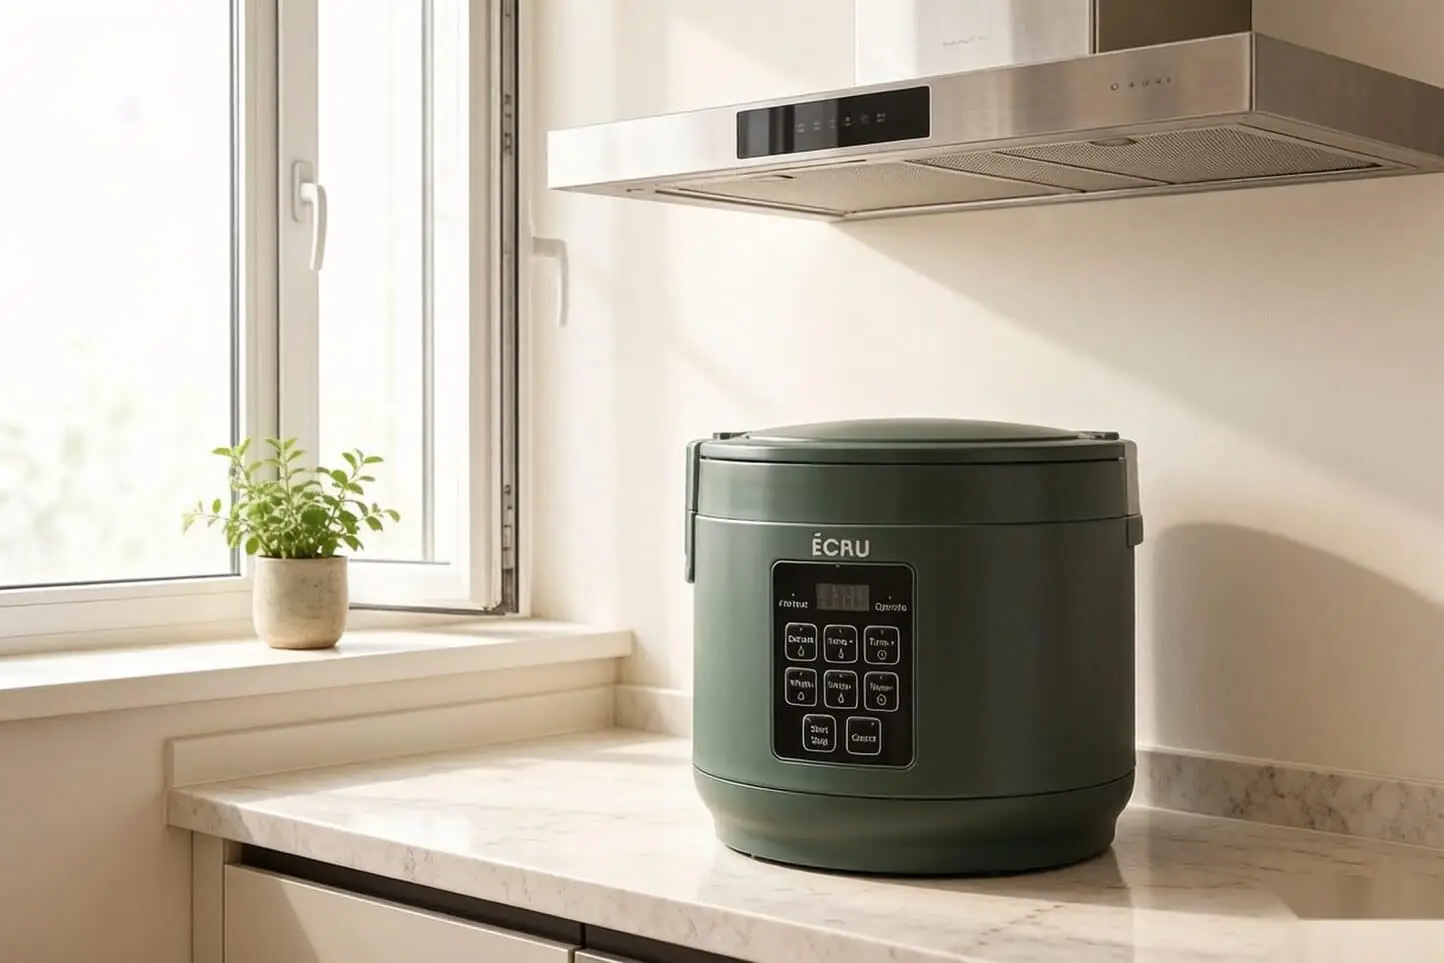
A sealed countertop decarboxylator by a ventilated window (illustration).
If you have ever decarbed cannabis in a kitchen oven, you know the smell. It spreads fast — through vents, under doors, and into hallways. For people in apartments, shared housing, or simply anyone who does not want their whole home to smell like toasted herb, odor control is not a minor detail; it changes whether you can decarb at all.
The good news is that you have options. Some are cheap DIY tricks you can try tonight. Others involve a dedicated machine that makes odor control automatic. What works depends on how much you are decarbing, how often you do it, and how low the smell needs to be.
Why decarboxylation smells in the first place
Decarboxylation uses heat to turn THCA and CBDA into active THC and CBD. That same heat also releases terpenes — the aromatic compounds that give cannabis its smell. The hotter and longer the cycle, the more terpene evaporation happens, and the stronger the odor.
This is why oven decarbs are so pungent: you are heating flower on an open tray inside a large cavity that vents into your kitchen. Every time the oven cycles on, more aroma escapes. A smaller, contained heat source limits how much of that aroma gets into the air.
For a full breakdown of the temperature and timing involved, see our decarb temperature chart.
7 ways to reduce decarb smell
1. Countertop decarboxylator (most reliable)
A countertop decarboxylator is the single most effective way to decarb with less smell. Instead of an open baking sheet in a full oven, the flower sits inside a sealed canister with a lid. Heat circulates inside the canister, and far less aroma escapes into the room.
The ÉCRU 2-in-1 Decarboxylator & Infuser uses a stainless-steel shell and a tight-fitting lid to contain the smell of a full 3-ounce batch through the entire decarb cycle. Most users report that the smell is barely noticeable outside the kitchen, and it fades quickly after the cycle ends.
This is also the only method that combines odor control with precise, repeatable temperature — you do not trade consistency for less smell.
Best for: Regular decarbing, apartments, shared living spaces, and anyone who wants a set-it-and-forget-it solution.
2. Oven with a sealed glass jar
If you are using a regular oven, a canning jar (Mason jar) with a tight lid is the classic low-cost upgrade. Spread the ground flower on parchment paper inside the jar, seal the lid, and place the jar on the oven rack.
The jar contains most of the aroma, but it has two important caveats. First, pressure builds up inside a sealed jar at 240°F, so you need to crack the lid slightly or use a jar with a rubber seal that can vent. Second, glass takes time to heat evenly, so the flower near the glass may decarb faster than the flower in the center. Stir once halfway through if you can do it without getting burned.
Best for: Occasional use on a budget, when you already have a canning jar and an oven thermometer.

Sealed glass jar method in the oven (illustration).
3. Oven tray covered with foil
Covering a baking sheet tightly with aluminum foil is the simplest possible odor reduction for oven decarbing. It does not eliminate the smell — steam and aroma still escape around the edges — but it cuts down on how much rises directly into the kitchen air.
The tradeoff is that foil traps moisture too. If the flower steams instead of toasting, the decarb may take longer and the texture may be different. Poke a few small holes for venting and expect the smell to still be noticeable, just less intense than an open tray.
Best for: Last-minute batches when you have no other equipment and just want to reduce (not eliminate) kitchen odor.

Foil-covered baking sheet method (illustration).
4. Smaller batches
This is less a method and more a principle: the more flower you decarb at once, the stronger the smell. Cutting a batch in half roughly cuts the terpene release in half too.
If you only need a small amount for a single recipe, doing two smaller back-to-back cycles with better ventilation is often easier on the nose than one large batch.
Best for: Infrequent users who make small amounts, or anyone using a method that is already borderline on smell.
5. Kitchen ventilation and air purifiers
Good ventilation does not change how much smell the decarb produces, but it changes how much stays in your living space. A strong range hood vented to the outside, an open window, and a circulating fan can move a lot of aroma out before it settles into carpets and fabric.
A HEPA air purifier with an activated carbon filter can also help, especially after the decarb is done. The carbon layer adsorbs some of the volatile compounds that carry the smell.
Best for: Any method — ventilation is a free addition to every other technique on this list.
6. Smell-proof storage (after decarbing)
Smell-proof bags and airtight containers do not help during decarbing, but they are essential for afterward. Freshly decarbed flower has a strong, toasty aroma that can linger in a drawer or pantry.
Store decarbed flower in a glass jar with a rubber seal or a purpose-made smell-proof bag, and keep it in a cool, dark place. This keeps the smell contained and also preserves potency by slowing terpene and cannabinoid degradation.
Best for: Storing finished material, especially if you decarb in advance of infusion.

Smell-proof storage for finished decarbed flower (illustration).
7. Slow cooker / sous vide water bath
A water bath keeps the temperature even and relatively low, and the water itself absorbs some of the released aroma. Seal the flower in a glass jar, submerge it, and run the bath at roughly 200–220°F for a longer cycle.
The downside is time. Lower temperatures mean the decarb takes 60–90 minutes instead of 30–40, and you still have to deal with getting the jar in and out of hot water. It is a viable option if you already sous vide and want to experiment, but it is not the fastest or most convenient route.
Best for: People who already own a sous vide setup and want to try low-and-slow decarbing.

Sous vide water bath decarb method (illustration).
Which method is right for you?
| Method | Smell reduction | Cost | Convenience | Consistency |
|---|---|---|---|---|
| Countertop decarboxylator | High | $99.99–$129.99 | Excellent | Excellent |
| Oven + sealed glass jar | Moderate | Under $10 | Moderate | Variable |
| Oven + foil cover | Low | Under $1 | Easy | Variable |
| Smaller batches | Moderate | None | Less convenient | Good |
| Ventilation + air purifier | Moderate | Varies | Easy | N/A (supports other methods) |
| Sous vide water bath | Moderate | $50–$200 | Slow | Good |
If you decarb more than once or twice a month, a dedicated decarboxylator is usually the best balance of odor control, consistency, and time saved. If you only decarb occasionally and cost matters most, start with the oven-and-jar method and add ventilation.
Common mistakes that make the smell worse
- Setting the temperature too high. Higher heat releases terpenes faster, and above about 280°F you also start degrading them instead of just smelling them. Stick to 240°F (115°C) for a reliable balance of speed and odor.
- Using more flower than you need. Bigger batches = stronger smell. Decarb only what you plan to use in the next infusion or two.
- Leaving the oven door open during the cycle. Every time you open the door, a wave of hot, aromatic air floods the kitchen. Check once at the halfway point at most.
- Skipping ventilation. Even with a contained method, running a range hood or opening a window is an easy upgrade that costs nothing.
- Storing decarbed flower in a loose container. The smell of finished material can build up over days. Use a sealed jar.
Conclusion
Decarboxylation always produces some smell — the heat that activates cannabinoids also releases terpenes. But "some smell" is a long way from "the whole apartment smells like it." A sealed countertop decarboxylator gets you most of the way to undetectable, and even an oven with a glass jar and good ventilation can bring the odor down to a manageable level.
If you are tired of opening windows every time you make edibles, the most practical upgrade is a machine designed for the job. Our ÉCRU 2-in-1 Decarboxylator & Infuser uses a sealed canister and calibrated heat cycle to decarb up to 3 ounces at a time with minimal odor — and then infuse it into butter or oil in the same canister.
More guides
- Decarb Temperature Chart: Times and Temps That WorkA cannabis decarb temperature chart for flower, kief, hash, and hemp, with the research behind the numbers and where those numbers stop applying at home.August 29, 2026
- Cannabutter Slow Cooker Recipe: Decarb FirstA slow-cooker cannabutter recipe that works: decarb at 240°F for 30-40 minutes, then infuse in a slow cooker at 160-190°F for 1-2 hours with water.October 3, 2026
- ÉCRU vs Ardent Nova: Small-Batch Models ComparedÉCRU Herb Decarboxylator Green 2oz vs the Ardent Nova on capacity, temperature control, build, and price - for buyers shopping an Ardent Nova alternative.August 26, 2026
- Cannabutter Recipe: The Machine MethodA cannabutter recipe built around two stages: decarb at 240°F for 30-40 minutes, then infuse in butter at 160-190°F for 1-2 hours, strain, rinse, and set.August 24, 2026
Decarb it the easy way
2 in 1 Decarboxylator & Infuser 3oz
3 oz dry / 20 oz liquid · Independent Decarb and Infuse modes
$129.99View productHerb Decarboxylator Green 2oz
2 oz dry / 10 oz liquid · 3 preset heat cycles
$99.99View product
Questions about this method or your ÉCRU? Contact ÉCRU support — warranty, shipping, and returns help in one place.